
I tried to fix taken photos in Photoshop without losing any lines, but it turned out to be more difficult and I ended up with mix of gray gradients and solid white.
Does anybody know how to edit photos of drawings properly? :)
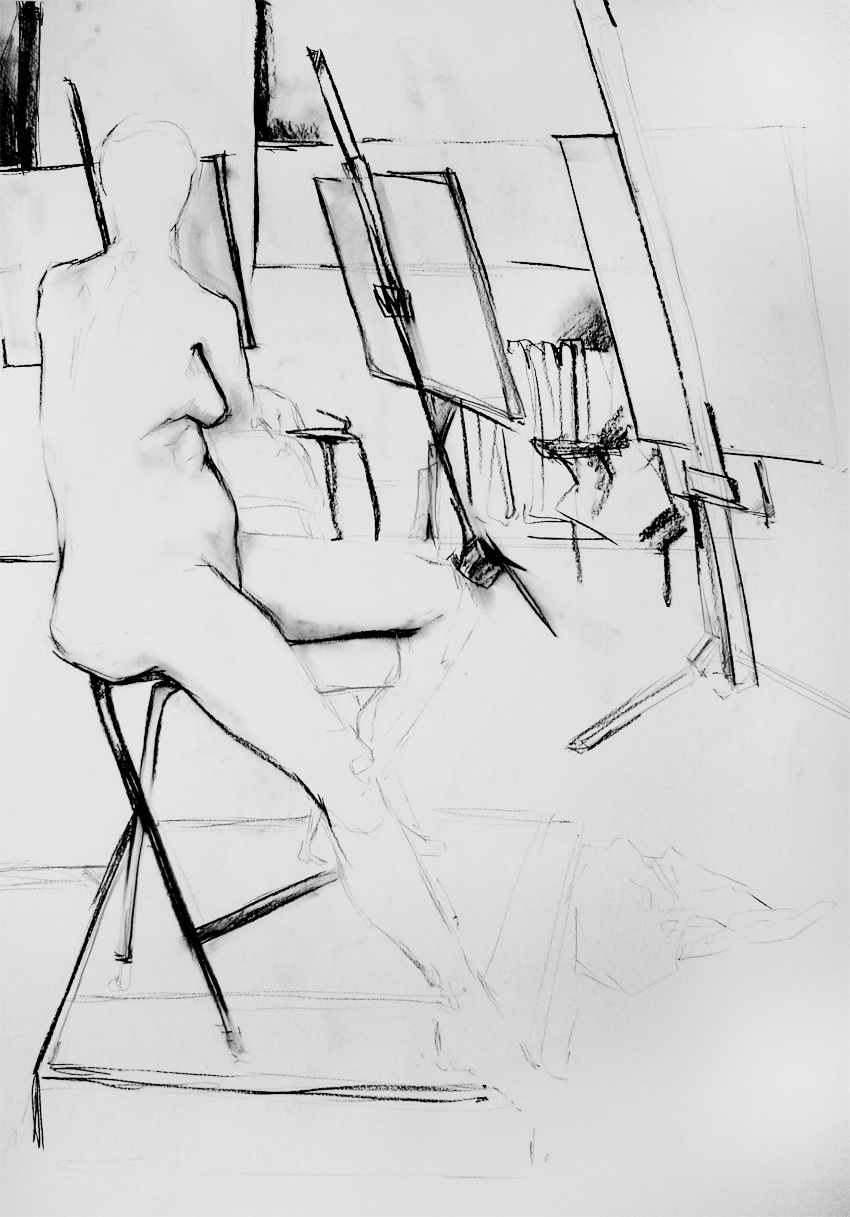


1. 25 minutes drawing 2. Quick sketches 3. Model in space
I think the modifications to backgrounds have given the images a rather lovely, soft touch. Especially the first image. I probably wouldn't worry to much about it and just continue as you've done these. The easiest way to 'fix' would be to actually scan in the images, but probably easier said than done considering the size of life-drawing images.
ReplyDeleteI agree with Tom - these have their own aesthetic - soft, and rather sad - I like it! :)
ReplyDeleteOh - and Samantha - just a gentle reminder; all project briefs ask students to use labeling conventions to further specify different sorts of blogposts - for example 'Toolkit Drawing' when you upload your life-drawing work. When you're preparing a post for publication, you'll see the option 'label' on the right of your publishing window; click on this, and a window will open - into which you type 'Toolkit Drawing' or 'Cinematic Spaces' or 'influence map' or 'concept art' or digital painting (indeed, ideally you will use combinations of labels to classify the characteristics of each post you produce). Once you've typed these labels once, blogger remembers them and they're now available to you to select each time you want to add that label to a post. The point about labeling your posts is simple; if I only want to view your 'Cinematic Spaces' posts, I just click on the 'cinematic spaces' label, and ALL posts with that label will be grouped together for me to see (and not others). Hope this makes sense! :)
ReplyDelete